Electronics and wiring
The control board goes into the base with its fan and its six driver modules; the motors, switches, sensors, the gripper connector, the E-stop and the power connector are wired to it.
The control board
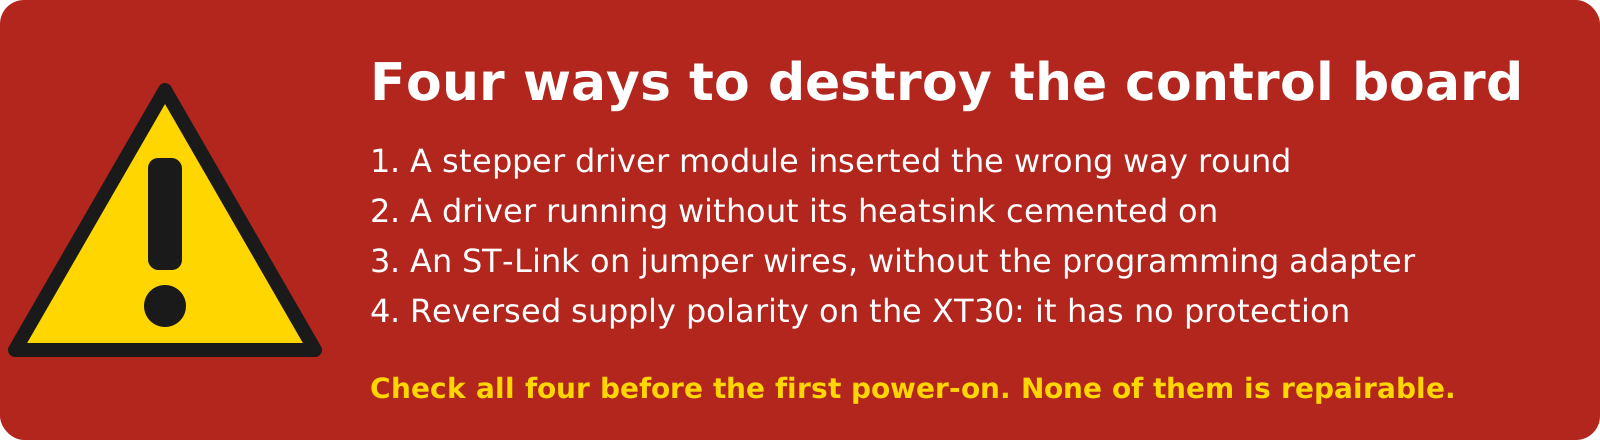
Everything about the board itself is in the Control Board Manual: the connectors, the pin map, the drivers. The two things that destroy boards, both on the Stepper drivers page: a driver module inserted the wrong way round, and a driver without its heatsink cemented on. Read that page before you plug anything in.
Wiring the arm to the board
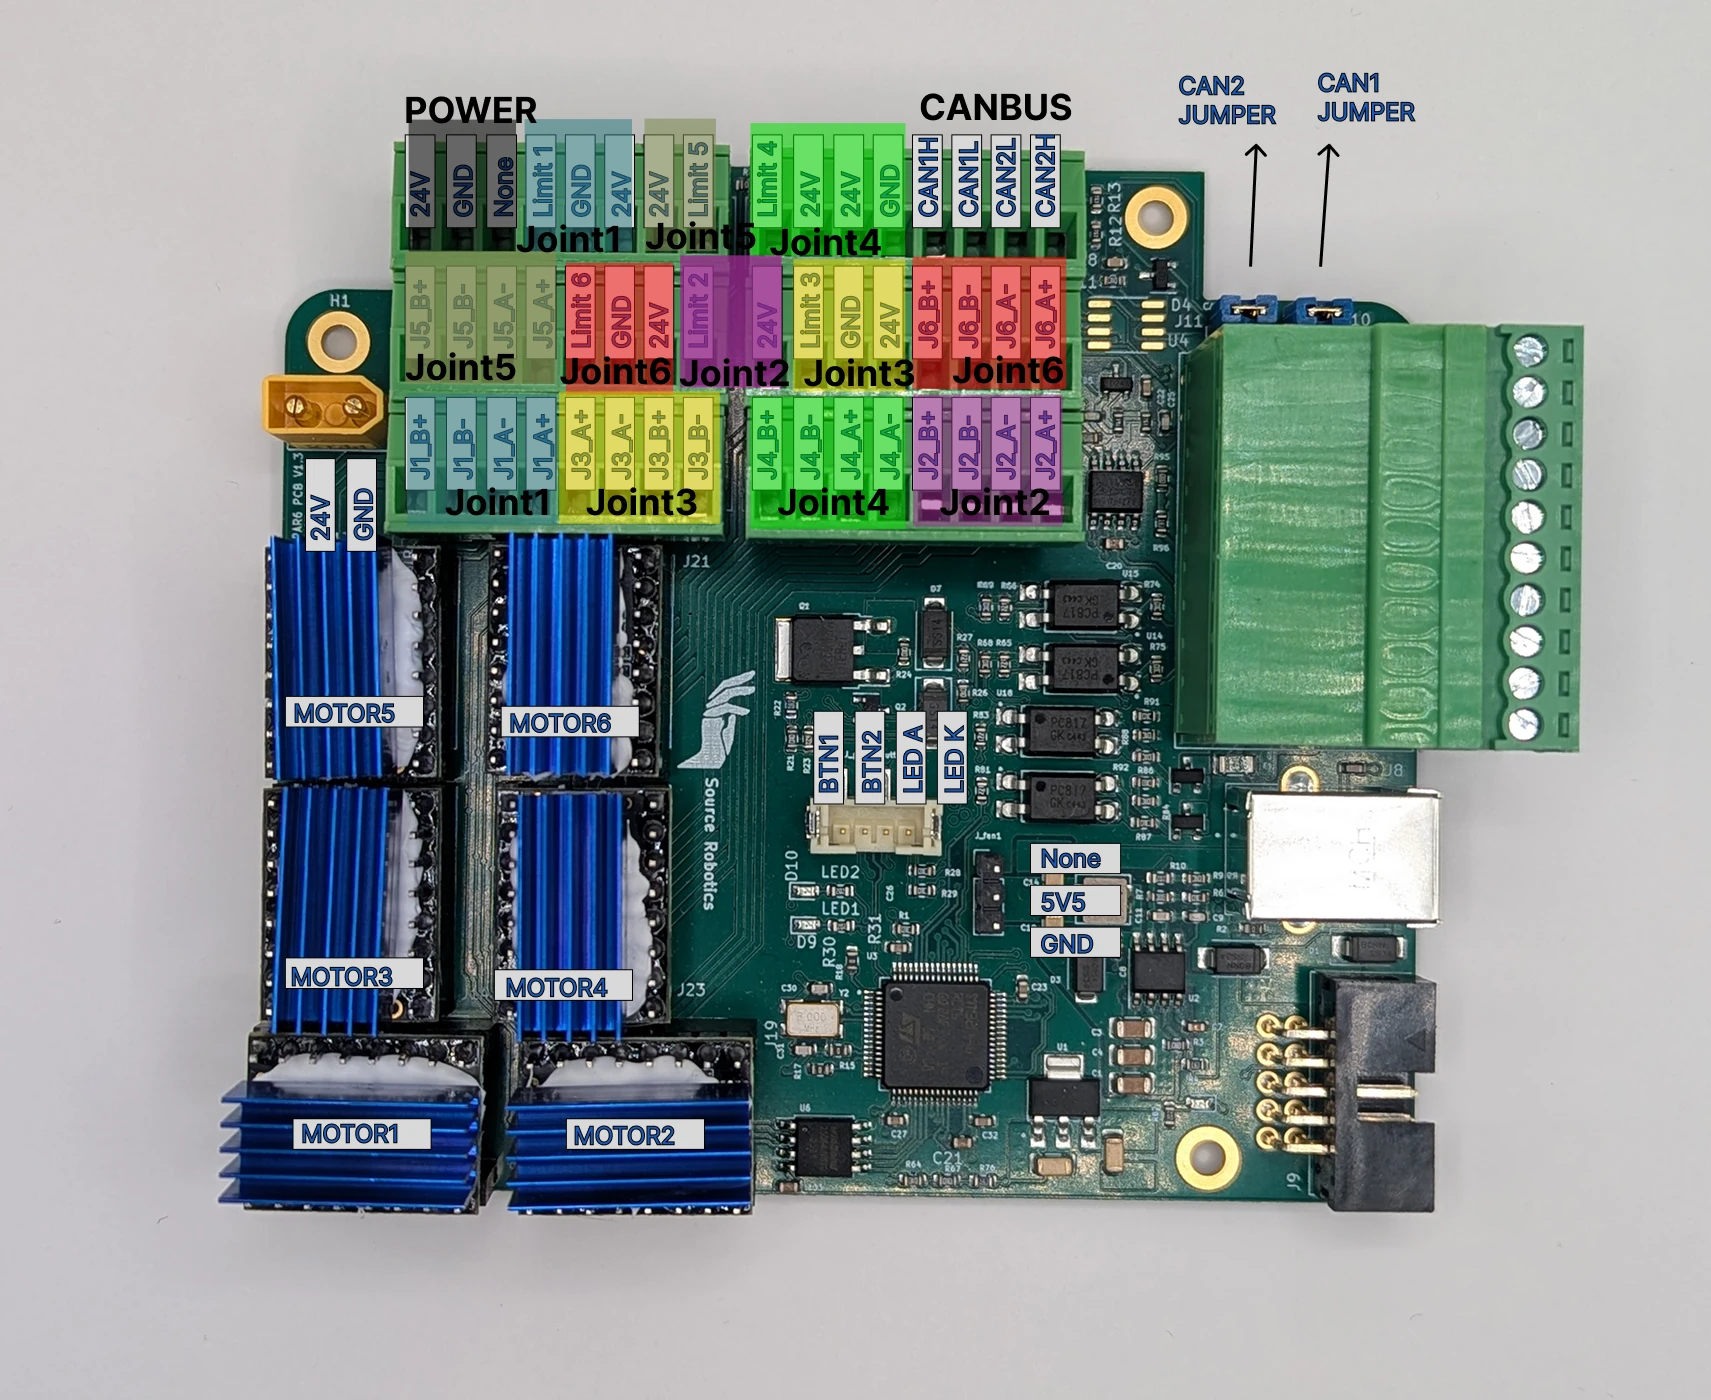
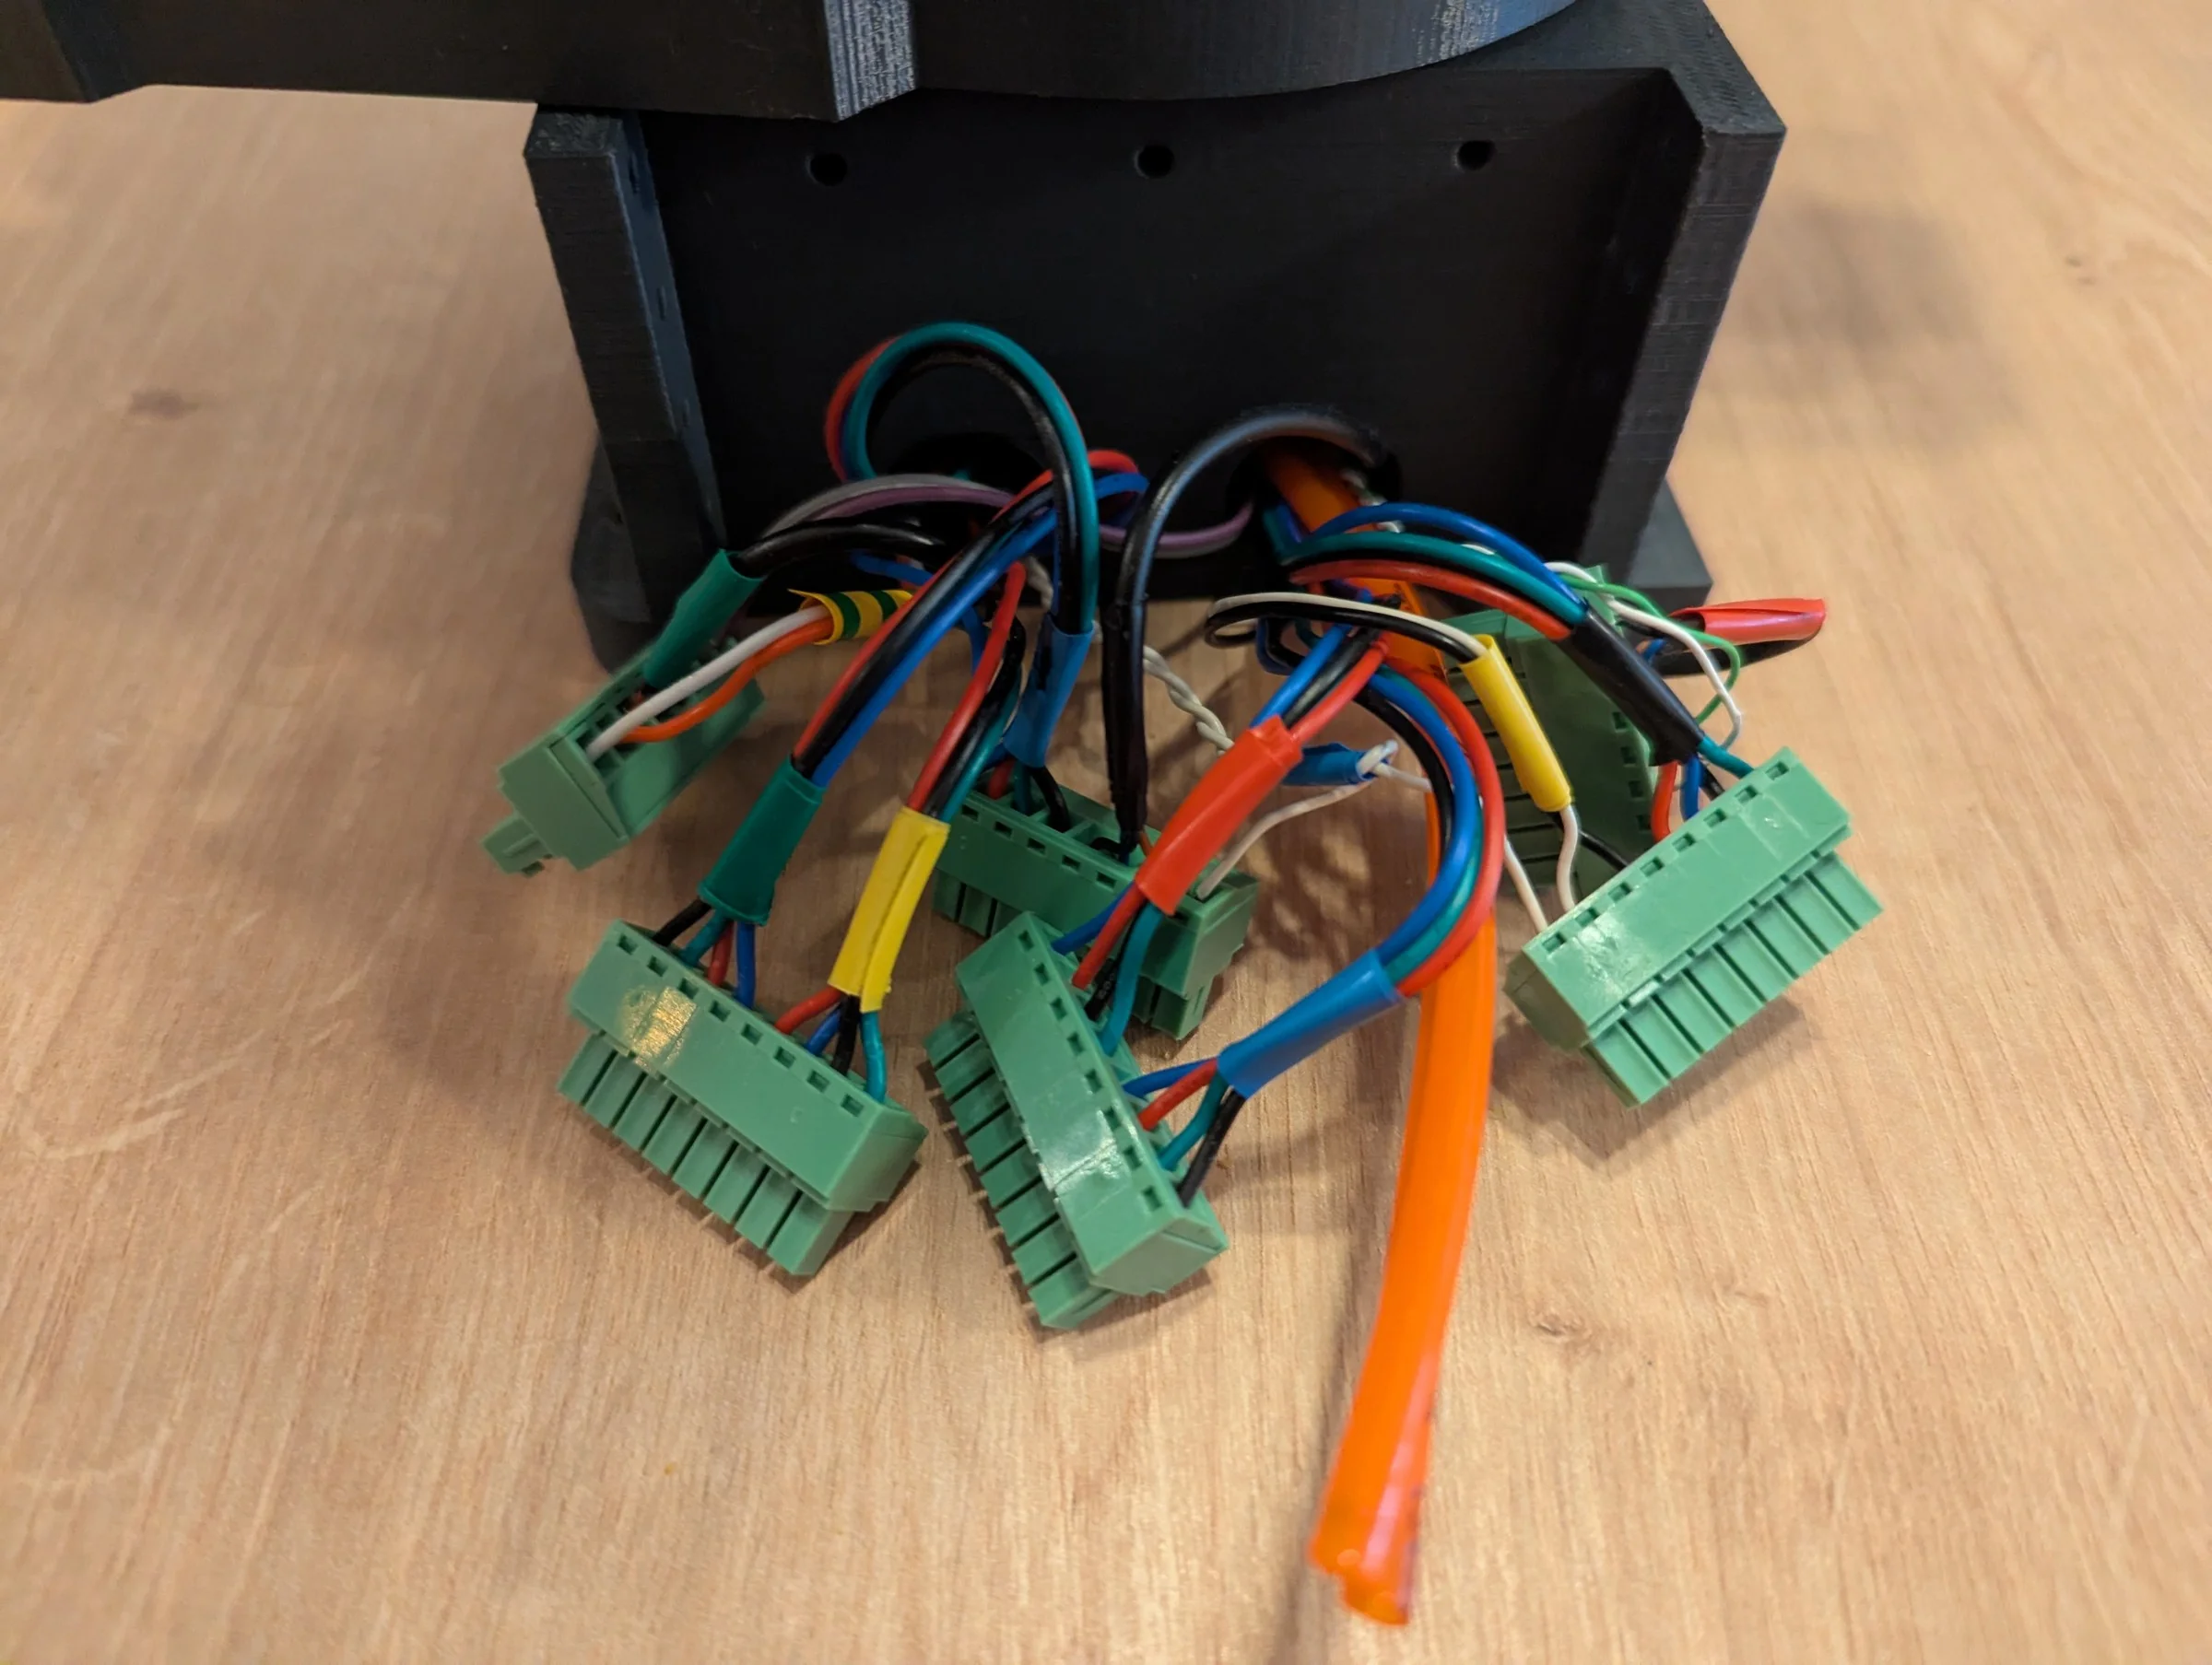
- Motors: one four-wire cable per joint, to the terminals marked with its joint number (
J1_A+toJ6_B-). - Limit switches (joints 2, 3, 5): one lead to 24 V, the other to the LIMIT terminal the wiring diagram shows in that joint's group; polarity does not matter.
- Inductive sensors (joints 1, 4, 6): brown to 24 V, blue to GND, black (signal) to the LIMIT terminal the wiring diagram shows in that joint's group.
- The gripper connector: 24 V, GND, CAN H and CAN L from the board to the M8 socket at the forearm.
- The E-stop: the NC contact to the two E-stop terminals.
- Power: the GX16 socket on the base to the XT30 on the board, polarity checked twice.
- The power button: the JST PH cable to the button connector.
- The fan: 5 V, three-pin, on the fan header; not a PWM fan.
Wire each switch and sensor to the terminal the diagram shows for its joint, joints 1 and 6 included, and check
each one with the test firmware's #LIMIT before you close the base.
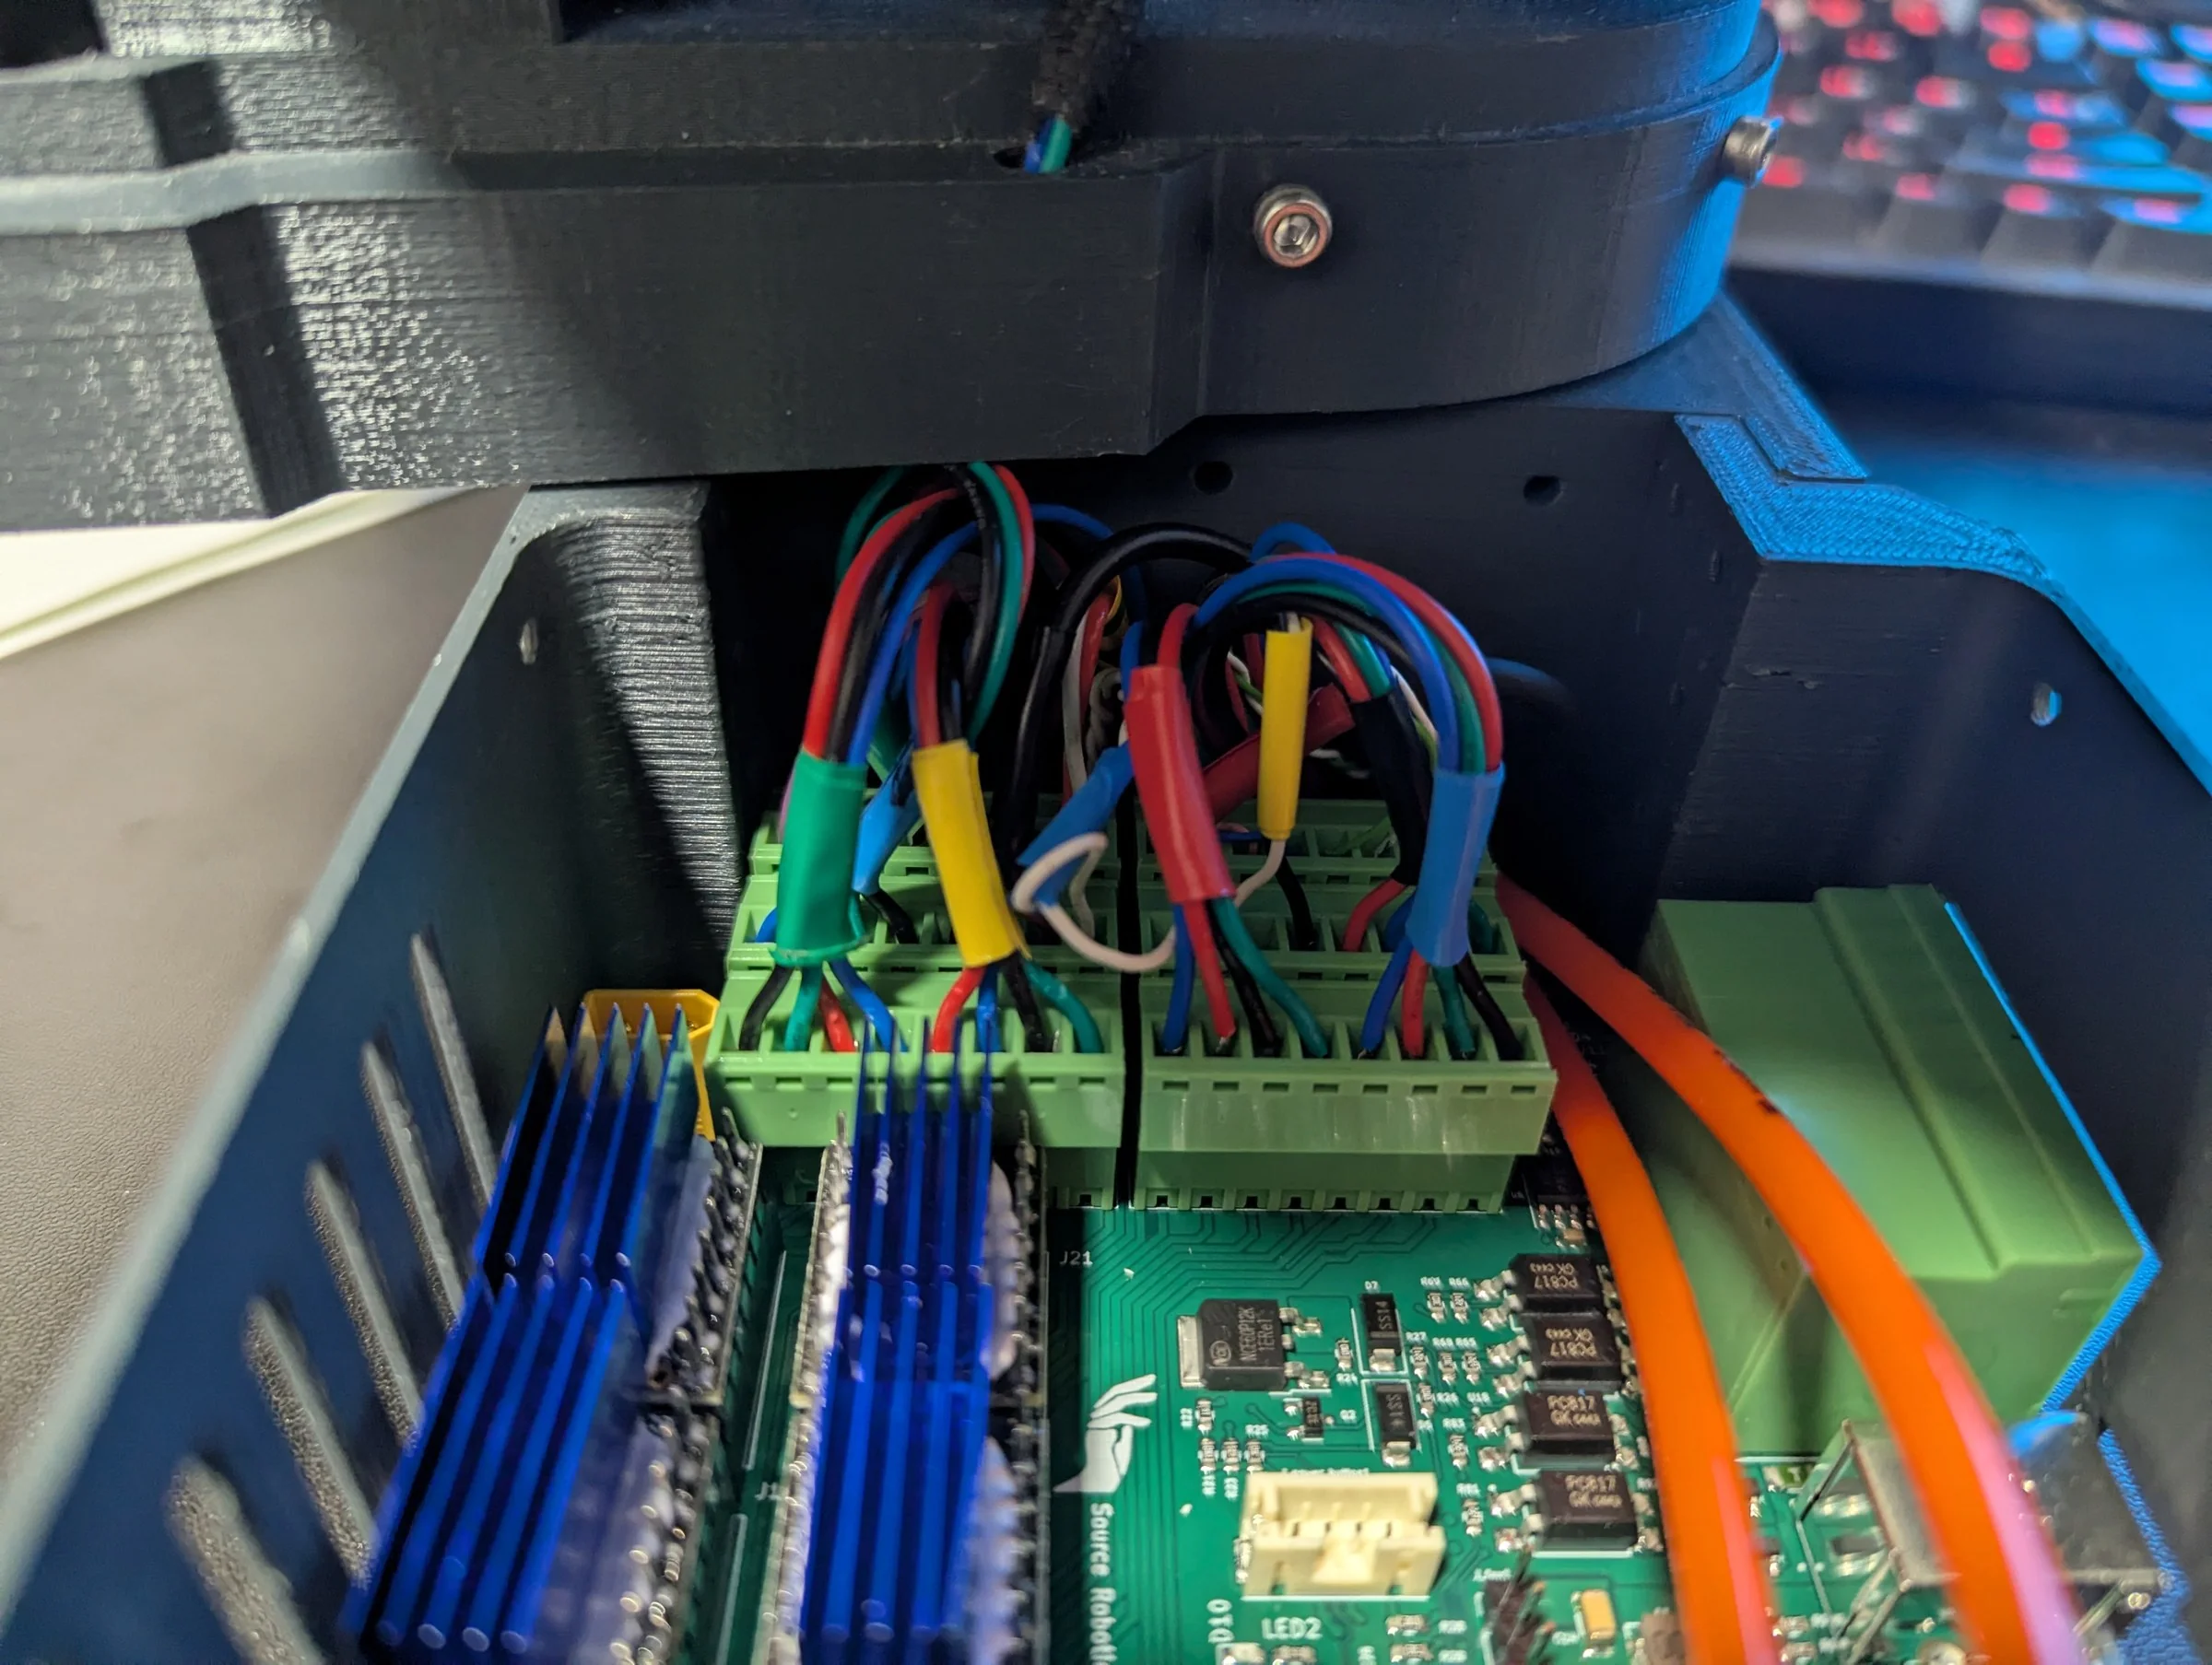
The finished base looks like this:
Test before you close the base
Power the board with the test firmware and check every driver, switch, sensor, input and output from the serial terminal (The test firmware). It is far easier now than with the base closed and the arm on top. You can also test your motors here, before the arm is assembled, to see that each one works.
Every control board sold by Source Robotics comes with the test firmware preloaded. It is the firmware every board was tested with: each board is fully tested, every part of it, at the end of the production line.
Comments
Found a mistake on this page? Edit it on GitHub · Report it · Get help · This page as Markdown · llms.txt · The whole manual as PDF