Mounting the robot
An unanchored robot falls over
When the arm extends, the centre of gravity leaves the base. Never run PAROL6 free-standing, not even for a test.
The base holes
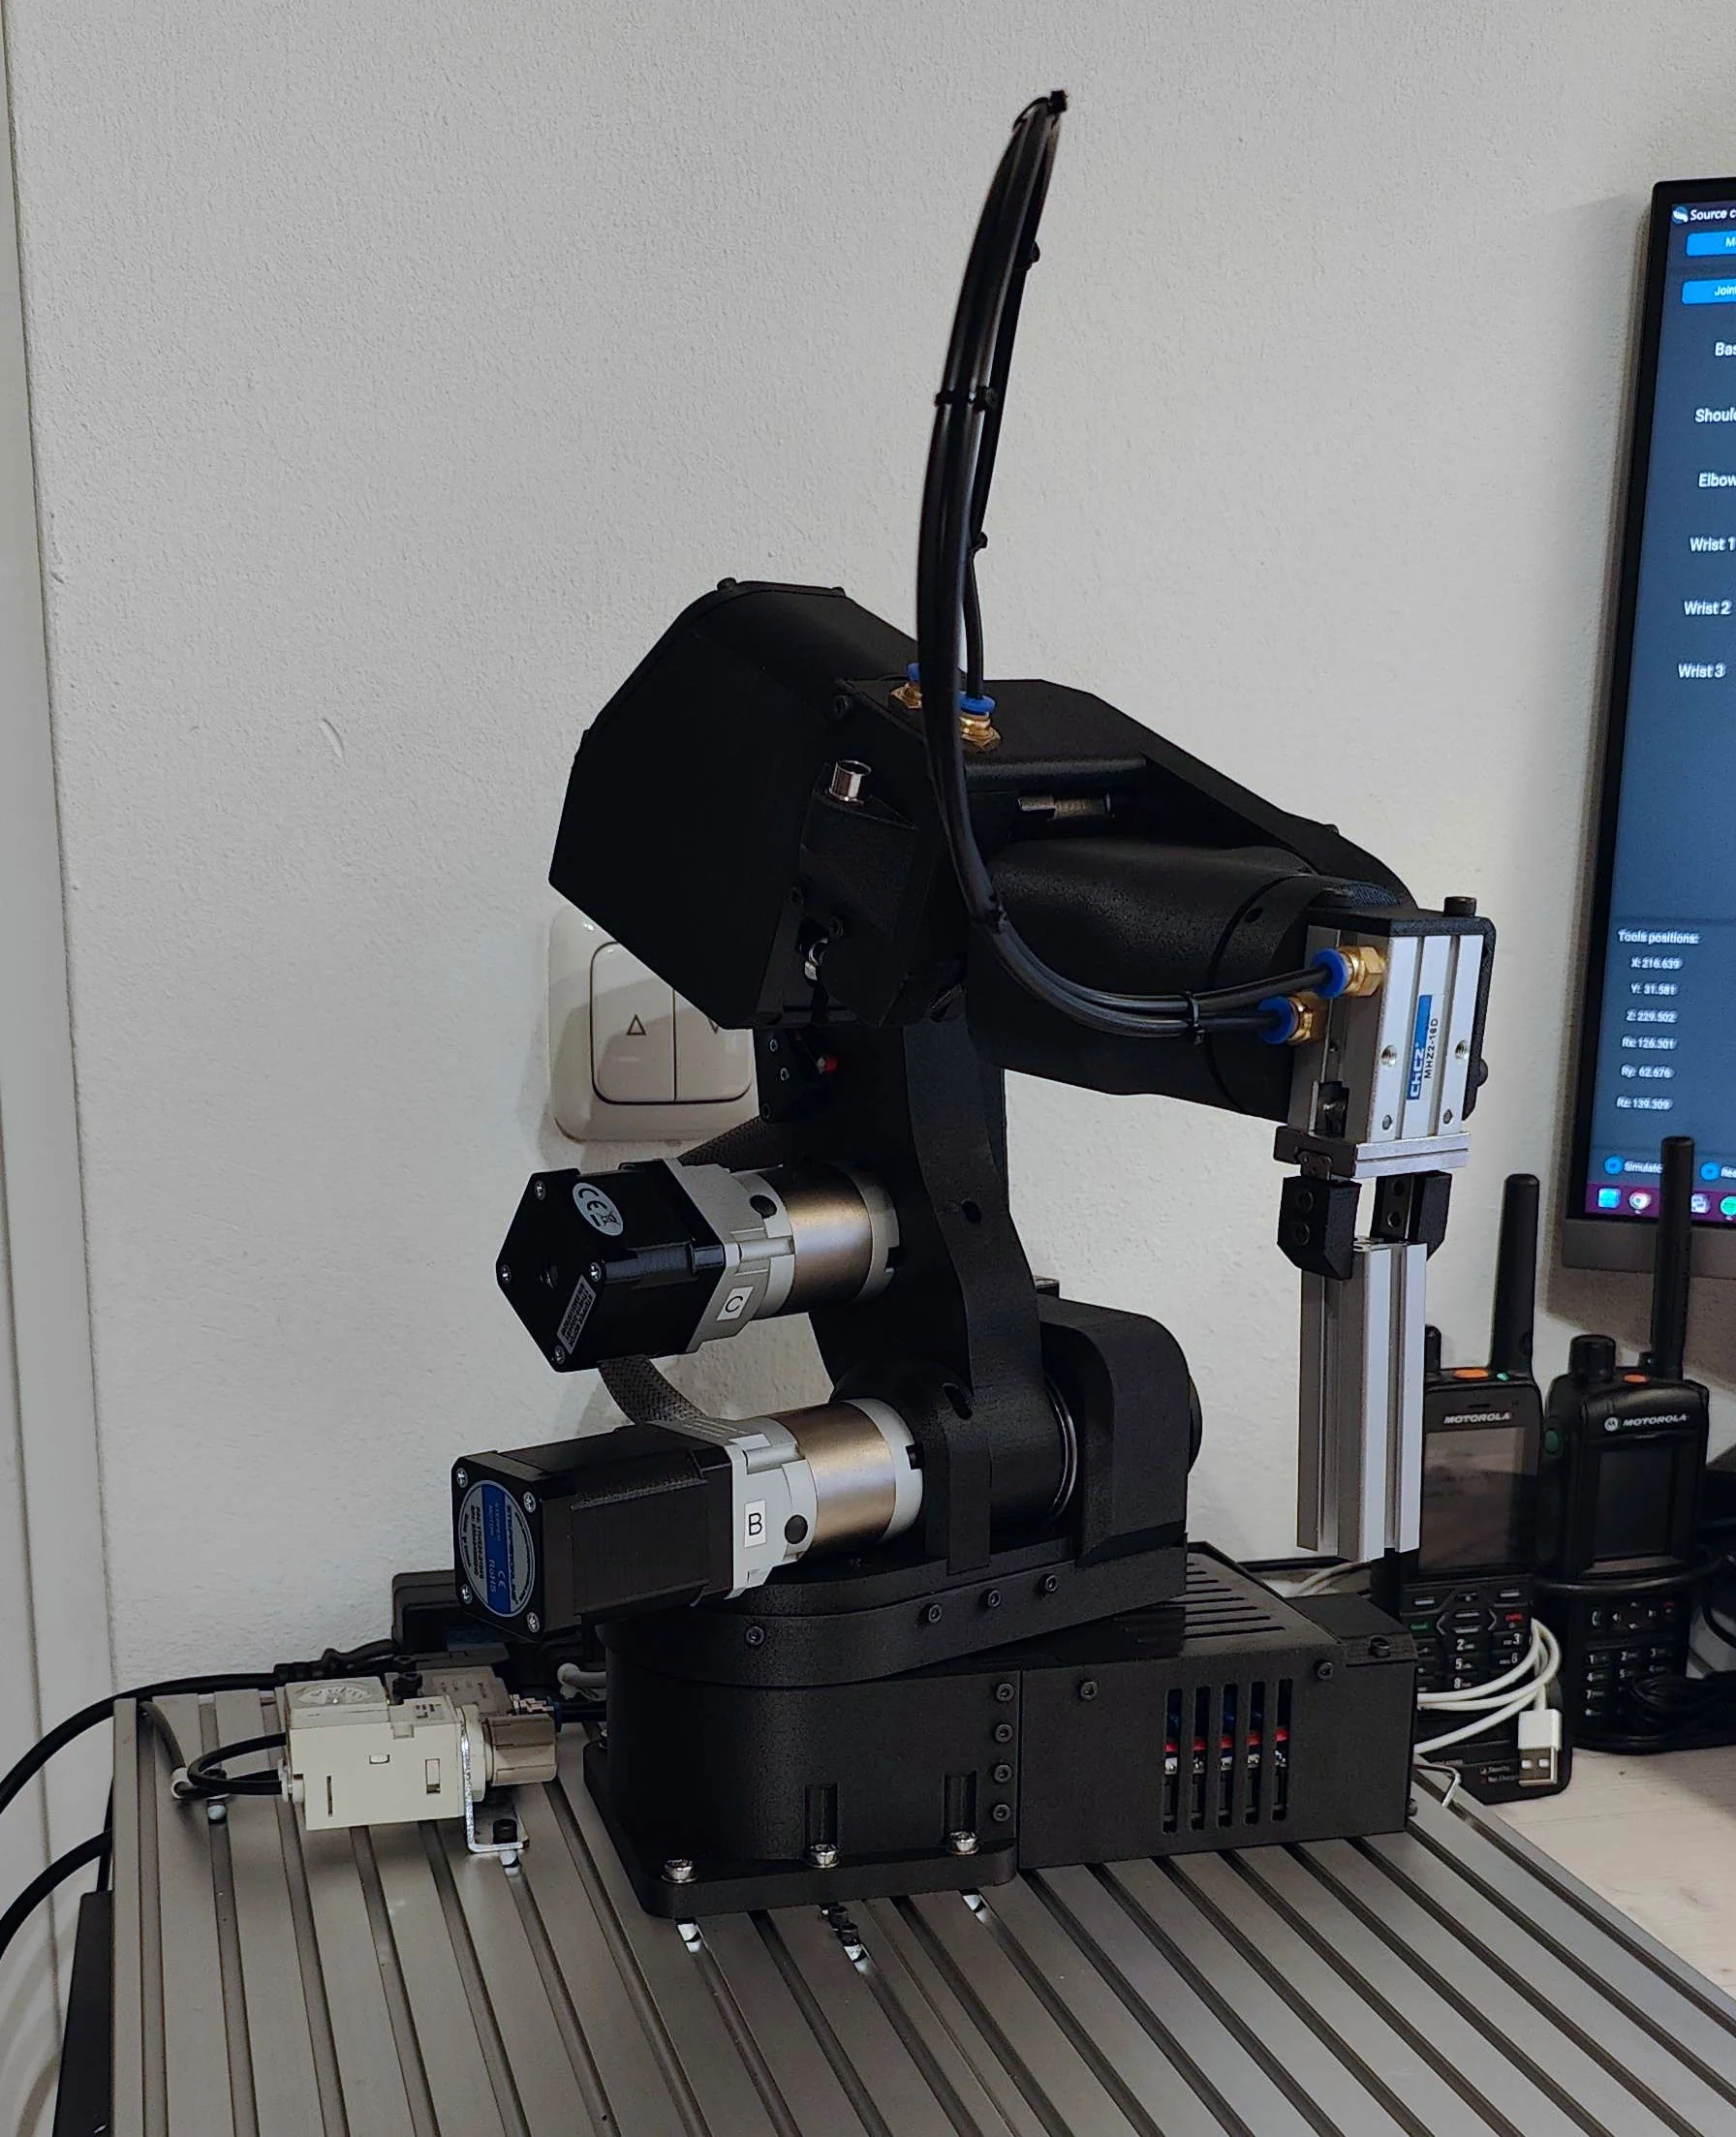
Six holes in the base, spaced for 30×30 mm aluminium profiles. Bolt the base to a plate or a profile frame with M5 screws and T-nuts.
Clamps
For a desk, clamp the base to the edge with two screw clamps over the base's rim. Check that the clamps do not interfere with the fan intake and the connectors at the back.
A profile frame
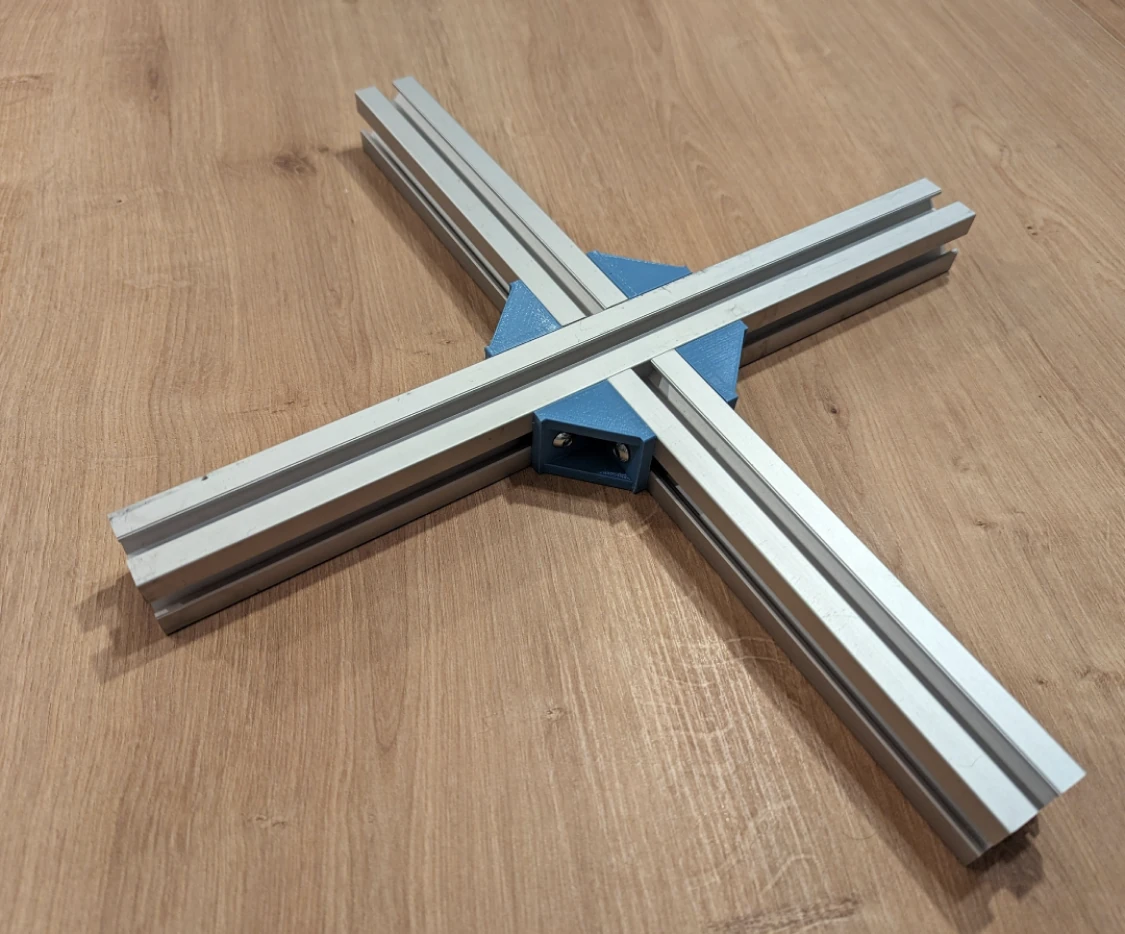
The repository's STL/UTILITY
folder has connectors_4_alu_profiles.STL, which prints a set of corner connectors for a frame of 30×30
profiles, as in the figure. You need M5 T-nuts, M5 × 12 mm screws for the connectors and M5 × 18 to 20 mm screws
for the base.
Mounting plates
The mounting plates folder of the repository has STEP files of a small and a big base plate, with the hole
pattern, for a plate you have machined or cut.
Orientation
PAROL6 is designed to stand upright on its base. Wall and ceiling mounting are not supported: the payload, the motor currents and the speed limits are set for an upright arm, and with no brakes the arm would fall into the mount when powered off.
Comments
Found a mistake on this page? Edit it on GitHub · Report it · Get help · This page as Markdown · llms.txt · The whole manual as PDF