4. First moves
The motor is calibrated and saved. Now it moves on command.
1. Move it
Use the jog controls:
- Jog velocity turns the motor at a speed;
- Jog position moves it to a position;
- Jog current applies a torque;
- Send setpoint sends a value in the current control mode.
The plots show position, speed and current while it moves.
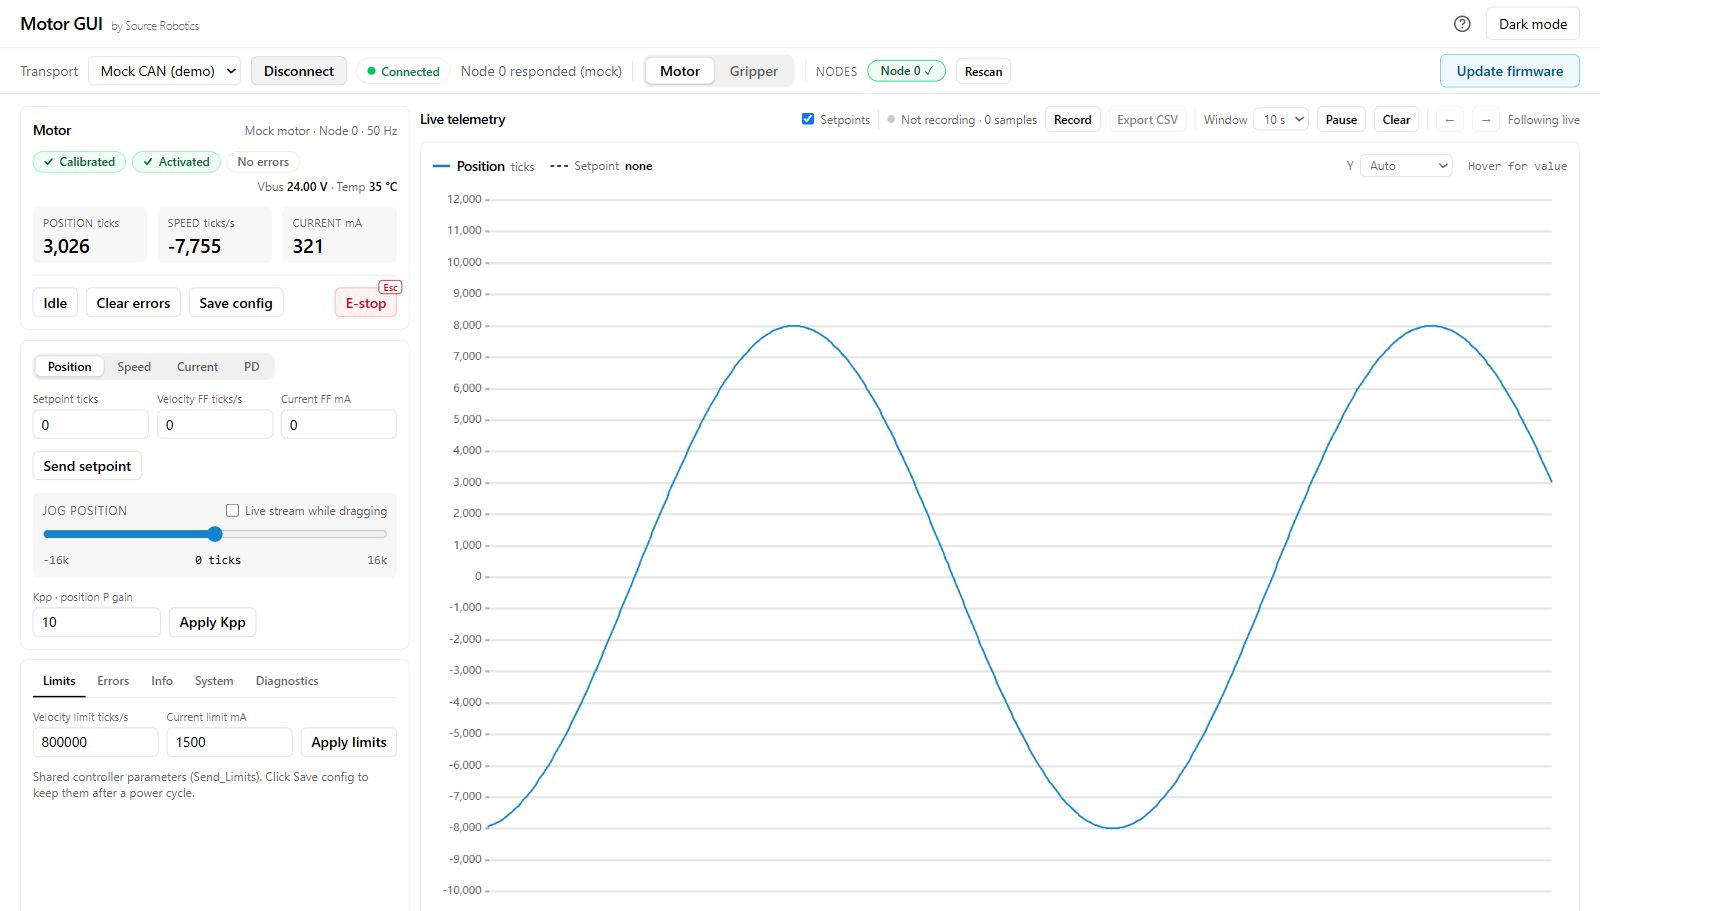
Position is in encoder ticks, 16384 per revolution; speed in ticks per second; current in mA. If the motor hums or whines, lower the current limit or tune the loops.
Check
The position and speed feedback follow the request, and Idle stops driving the motor. A motor that does not follow needs Troubleshooting before a load is attached.
More: Control modes · Current limit and loop tuning.
2. Where to go next
| You want to | Read |
|---|---|
| get to know Motor GUI: the screen, the plots, recordings, several motors | Motor GUI, Working in Motor GUI |
| control the driver from a program over CAN | Over CAN, then With Python |
| put several drivers on one bus | give each a node ID and terminate the ends: Power and the CAN daisy chain |
| protect the motor from overheating | Thermistor |
| update the firmware | Firmware |
| look up a message or a command | API reference |
| build something: a wheeled robot, a leg, a compliant arm | Guides |
| understand why it does not work | Errors and recovery, Troubleshooting |
Comments
Found a mistake on this page? Edit it on GitHub · Report it · Get help · This page as Markdown · llms.txt · The whole manual as PDF