2. Connect
The supply powers the motor, the serial adapter connects the PC.
1. Connect power and the PC
- Connect the supply to a power connector: DC+ to positive, DC− to negative. Check twice.
-
Connect the serial adapter to the UART connector with the UART cable: TX to RX, RX to TX. 3.3 V only.
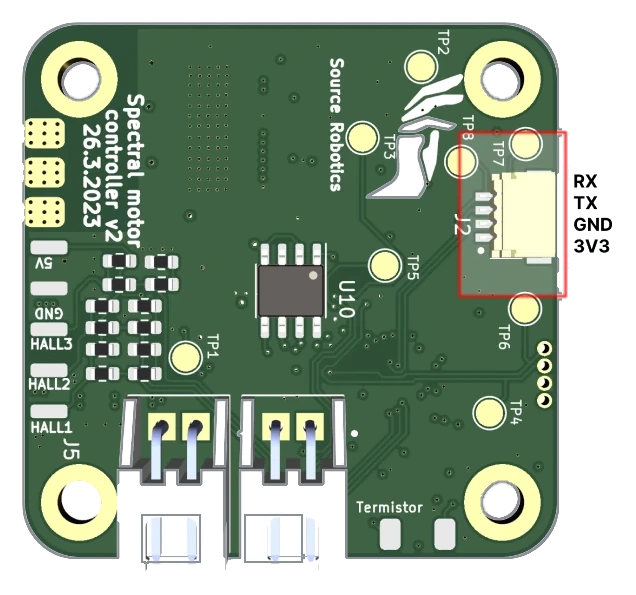
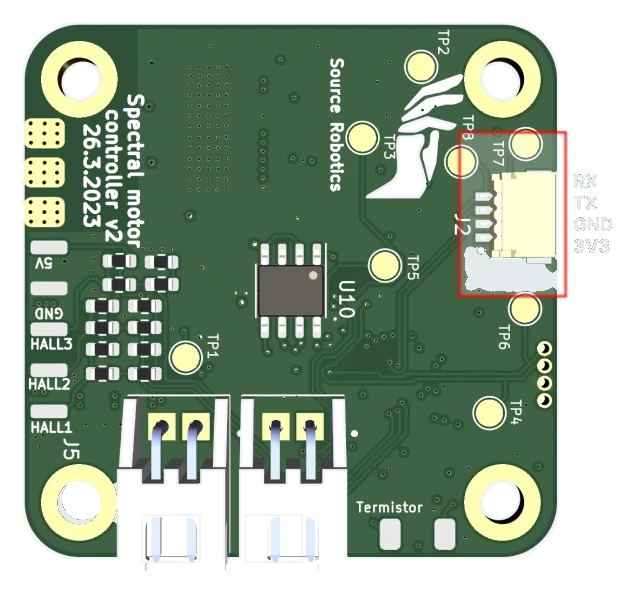
Figure 1: The UART connector. TX of the driver goes to RX of the adapter and RX to TX. -
Power on.
The LED blinks for about two seconds while the bootloader waits for a host. Then the firmware starts, and the LED stays on steadily: the driver is not calibrated yet, which it reports as an error state.
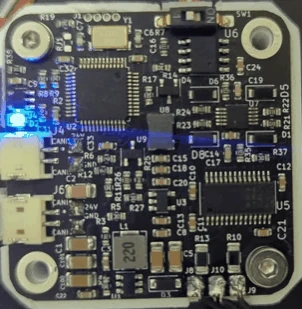
The serial adapter alone
The serial adapter alone powers the driver's logic: it answers over UART without the supply, but reports a Vbus error and will not calibrate or move.
More: Power and the CAN daisy chain · Connectors and pinout.
2. Open Motor GUI or a terminal
- Open motorgui.com in Chrome or Edge.
- Choose the serial connection.
- Press Connect, and choose the adapter's port.
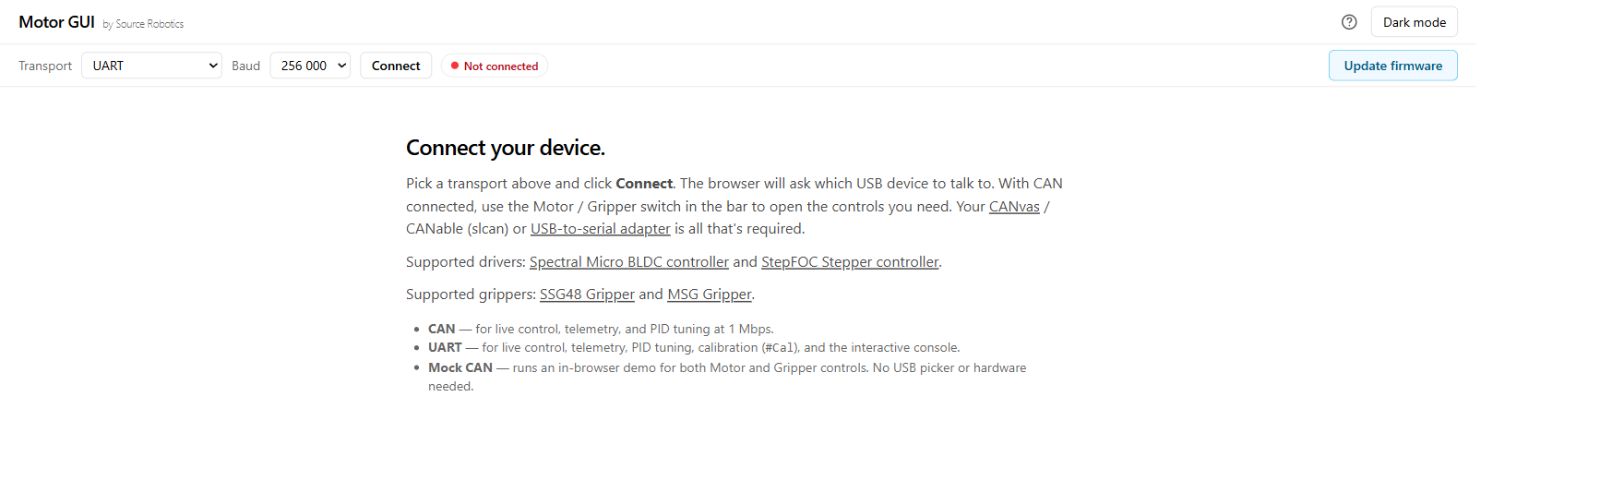
The driver's identity and state appear: hardware and firmware version, serial number, Not calibrated, No errors.
If nothing connects: the port, the cable's TX/RX, the browser (Web Serial needs a Chromium browser).
More: Motor GUI.
- Open a terminal on the adapter's port: 256000 baud, line ending CR+LF.
- Type
#Info.
The driver prints its hardware and firmware version, its CAN ID, whether it is calibrated, and the motor's parameters.
More: The serial terminal.
Check
The driver's identity and live state appear before you change settings. A missing connection is covered in Motor GUI or Troubleshooting.
Comments
Found a mistake on this page? Edit it on GitHub · Report it · Get help · This page as Markdown · llms.txt · The whole manual as PDF