Thermistor
A 100 kΩ NTC thermistor on the motor lets the driver stop before the motor overheats. It is optional, and off by default; use it on any motor that runs near its rated current for long.
Without it, nothing protects the motor from overheating
The driver limits the current, not the temperature. A motor that runs continuously, holds a load for long, or is set up badly (a current limit above its rating, loops that oscillate, a wrong resistance or inductance) can overheat and burn its windings without any warning. With the thermistor fitted and enabled, the driver stops first. The starter kit includes one.
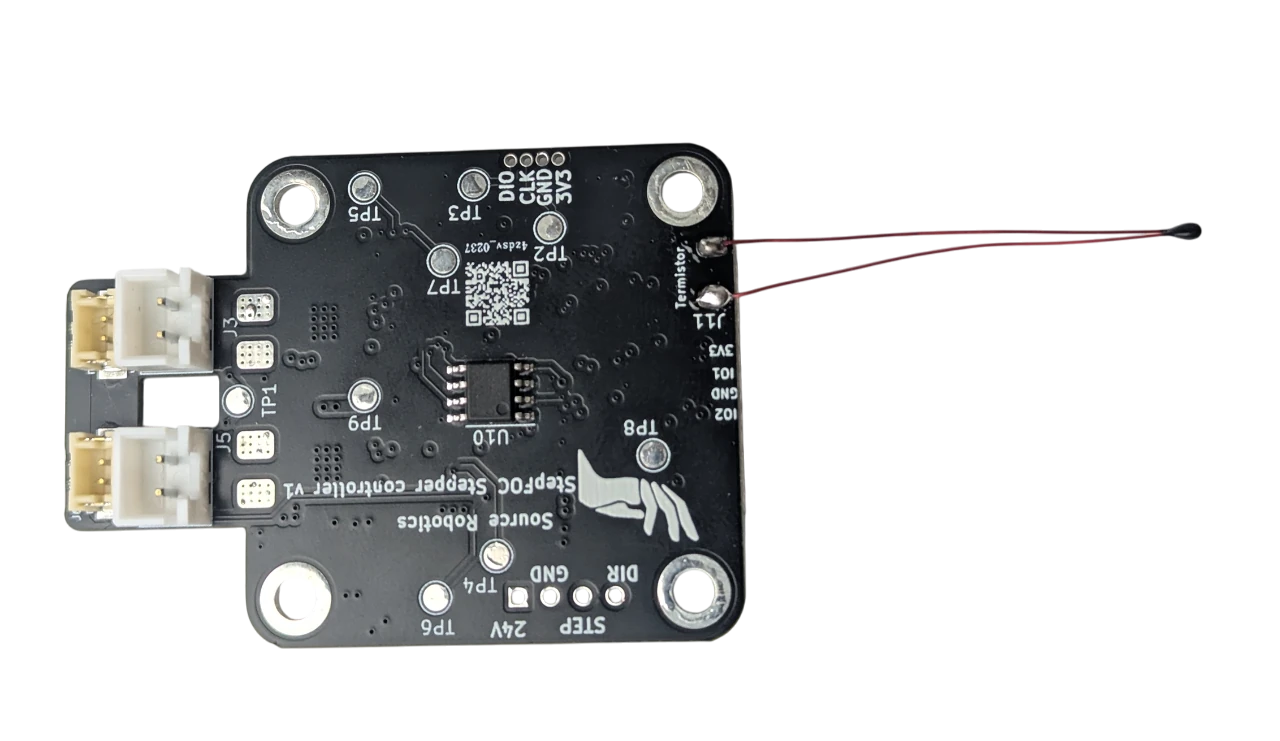
Fitting it
A stepper is sealed: the windings cannot be reached. Place the thermistor on the motor housing, as close to the windings as possible: either glued to the side of the housing, or in one of the four screw holes of the motor's bottom with the screw removed, which puts it deep in the stack. Thermal cement holds it and conducts the heat.

The housing lags behind the windings by some seconds, and reads lower. Set the limit with that in mind: the default of 75 °C at the housing corresponds to a hotter winding.
Enabling it
#Temp then prints the temperature; with the thermistor disabled it prints Temp Off. Above the limit the driver
raises a temperature error and stops; it clears with #Clear once the motor has cooled.
Over CAN, Send_Respond_Temperature returns the temperature, and the temperature error is one of the bits of Send_Respond_State_of_Errors.
Comments
Found a mistake on this page? Edit it on GitHub · Report it · Get help · This page as Markdown · llms.txt · The whole manual as PDF